Learning how to Delete email using RoundCube Webmail is essential for keeping your inbox organized, and manageable and freeing up your hosting space. This comprehensive guide will walk you through the process step-by-step.
Need help logging in? Read >> How to Log Into RoundCube Webmail
Why delete email using RoundCube?
While it might seem obvious, it’s worth highlighting why delete email from RoundCube is important:
- Storage Space: Emails, especially those with attachments, take up storage space on your server. Regularly deleting unnecessary emails helps free up space and keeps your account running smoothly.
- Organization: A cluttered inbox can be overwhelming and make it difficult to find important messages. Deleting irrelevant emails helps you stay organized and focused.
- Efficiency: Wading through a sea of unwanted emails wastes time and energy. Deleting emails you don’t need allows you to quickly find and respond to the messages that matter.
- Security: Deleting sensitive or confidential emails helps protect your privacy and reduce the risk of data breaches.

Step 1: Locate the Email Folder
- Log in to your Roundcube webmail account.
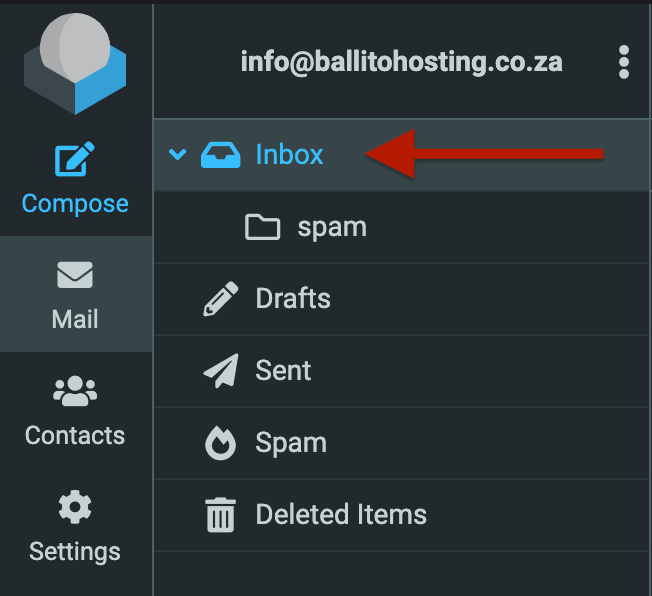
- Look towards the left-hand sidebar
- Find the folder you would like to delete email from
- Typically includes your Inbox, Sent, Drafts, It can also contain other folders you may have created.
- Select the folder that contains the emails you want to delete.
Step 2: Select the Emails for Deletion from RoundCube
-
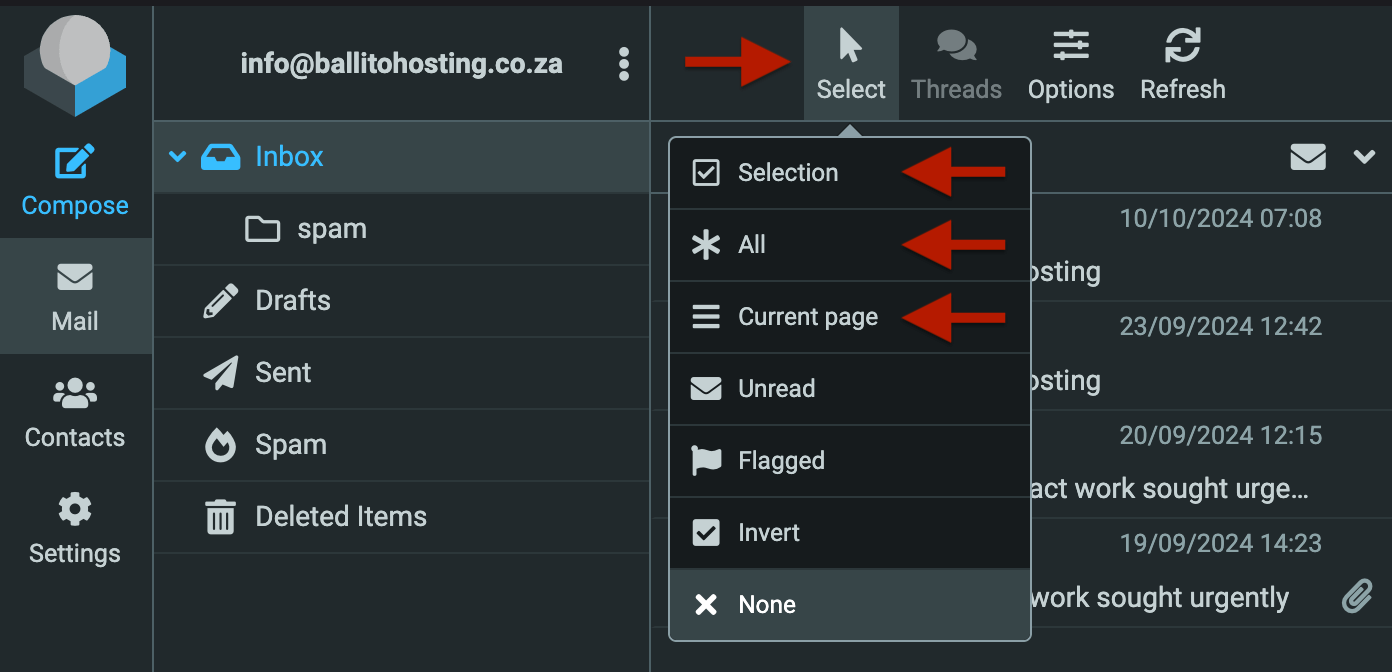
Once you’re in the desired folder, look for the “Select” icon above the list of emails. It usually appears as a square icon with a checkmark or a downward arrow.
- Click the “Select” icon to reveal a dropdown menu.
- From the dropdown menu, choose one of the following options:
- Selection: This will allow you to individually select emails from the current page
- All: This will select all the emails in the current folder.
- Current Page: This will select only the emails displayed on the current page of the folder.

After selecting all or the current page emails, you can further refine your selection:
- To deselect an individual email, simply click on its checkbox again.
- To select a range of consecutive emails, click the checkbox of the first email, hold down the Shift key, and click the checkbox of the last email in the range.
Step 3: Move Emails to the Trash
- After selecting the emails you want to delete, locate the “Delete” button. This usually has a trash can icon.
- Click the “Delete” button. This will move the selected emails to the Trash folder.

Step 4: Permanently Delete Emails (Empty the Trash)
- Important: Simply moving emails to the Trash doesn’t delete them permanently. They still occupy storage space.
- To permanently delete the emails:
- In the folder list, click on the “Deleted Items” folder.
- Select all the emails in the Trash folder (you can usually use the “Select All” option).
- Click the “Delete” button again.
- Confirmation: Roundcube may ask you to confirm that you want to permanently delete the emails. Click “OK” or “Confirm” to proceed.

That’s it! You’ve successfully deleted emails in Roundcube and freed up valuable space in your account.
Tips for Managing Your RoundCube Webmail Inbox
- Create Filters: Set up filters to automatically sort incoming emails into specific folders, reducing clutter in your inbox.
- Use the Search Function: Quickly find emails by using the search bar to search by sender, subject, or keywords.
- Mark as Read: If you don’t need to delete an email but want to clear it from your inbox view, mark it as read.
- Regularly Clean Up: Schedule time each week or month to go through your inbox and delete unnecessary emails.


